 Pin
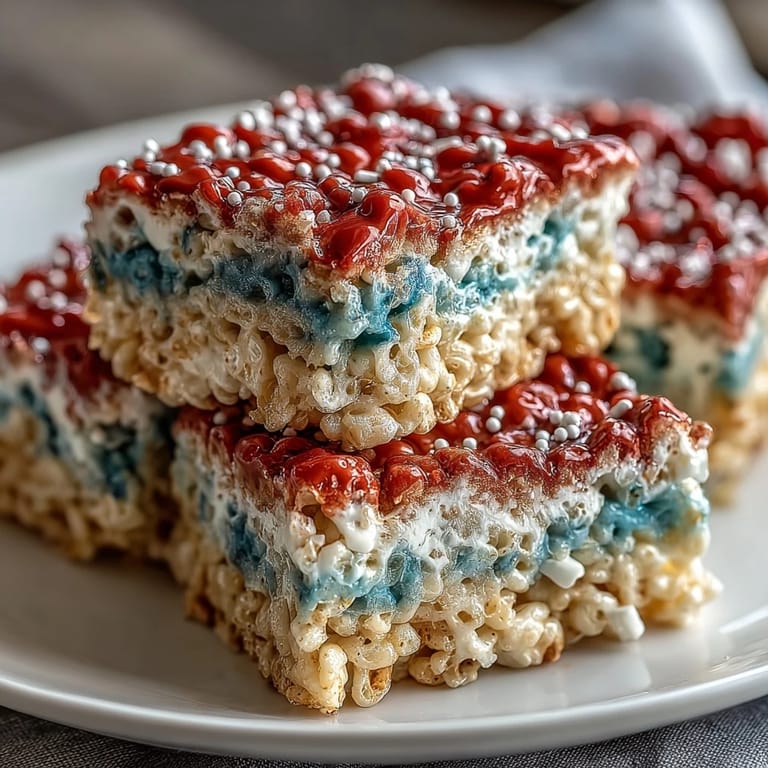
Pin My kids have a tradition of arriving at the kitchen counter an hour before the Fourth of July fireworks start, armed with aprons and sticky fingers ready for action. One year, instead of the usual store-bought treats, I decided to make Rice Krispies bars in red, white, and blue—and watching their faces light up as each layer appeared was worth every messy minute. Now it's become the one thing they actually request, and honestly, I've come to love the controlled chaos of layering melted marshmallows while they call out color assignments.
I'll never forget the neighborhood barbecue where I brought these treats and they disappeared within minutes, leaving me standing there with an empty platter and three different neighbors asking for the recipe. It was such a small moment, but it reminded me that food doesn't need to be complicated to bring people together—sometimes the sweetest memories come from the simplest things made with intention.
Ingredients
- Rice Krispies cereal: Six cups gives you enough volume for all three layers without the mixture becoming too dense or hard to work with.
- Mini marshmallows: One 10-ounce bag divided equally ensures consistent texture across each patriotic layer.
- Unsalted butter: Three tablespoons total, divided by three, lets you control the saltiness while keeping each layer pliable enough to press smoothly.
- Vanilla extract: Half a teaspoon stirred into just the white layer adds subtle flavor depth without overpowering the other colors.
- Red and blue gel food coloring: Gel formulas stay concentrated and vibrant—liquid coloring will make your mixture weepy and impossible to press into neat layers.
- Red, white, and blue sprinkles (optional): A light dusting on warm treats adds visual patriotism and a tiny crunch of sweetness.
Tired of Takeout? 🥡
Get 10 meals you can make faster than delivery arrives. Seriously.
One email. No spam. Unsubscribe anytime.
Instructions
- Set up your stage:
- Line a 9x9-inch baking pan with parchment paper so you can easily lift the whole thing out later, then lightly grease the paper itself. Divide your marshmallows and butter into three equal portions beforehand—about 3 1/3 cups marshmallows and 1 tablespoon butter per color—so you're not scrambling mid-layer.
- Make the red layer:
- Melt 1 tablespoon butter in a large saucepan over low heat, add your first portion of marshmallows, and stir constantly until they're completely smooth and glossy. Drop in a few drops of red gel food coloring, stir until the color looks how you want it, fold in 2 cups of Rice Krispies until every piece is coated, then press the mixture evenly into the bottom of your pan using a lightly greased spatula or your greased hands.
- Create the white layer:
- Wipe your saucepan clean, melt the second tablespoon of butter, add the next portion of marshmallows, and stir until melted and silky. Stir in half a teaspoon of vanilla extract for subtle flavor, add 2 cups Rice Krispies, mix until coated, then gently press this layer directly over the red layer without mixing the two.
- Top with blue:
- Clean the pan again, melt the remaining butter, add the last batch of marshmallows, and stir until completely smooth. Add a few drops of blue gel coloring, stir until vibrant, fold in the remaining 2 cups Rice Krispies, and press this final layer gently but firmly over the white layer.
- Finish and cool:
- If you're using sprinkles, scatter them over the warm blue layer right away so they stick. Let everything set at room temperature for at least an hour—this is the hardest part because it smells incredible the whole time.
 Pin
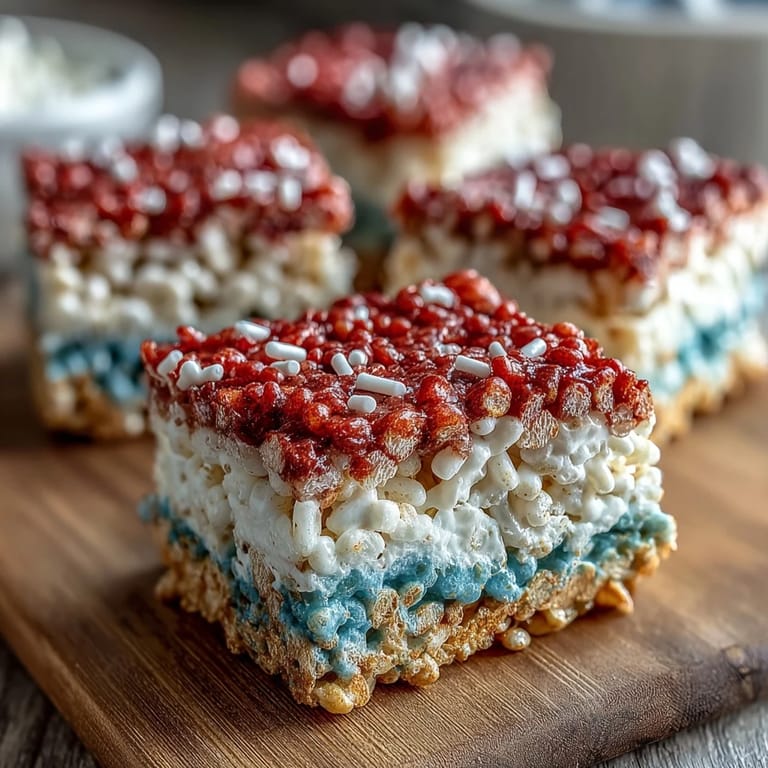
Pin There's something almost ceremonial about how my kitchen smells while these are cooling—buttery marshmallow sweetness hanging in the air, three perfect color stripes visible through the parchment, and the anticipation of the first bite. These treats stopped being just dessert and became the edible symbol of our family's July Fourth, a small homemade gesture that somehow means more than any store-bought alternative ever could.
Why Gel Food Coloring Changes Everything
I learned this lesson the hard way during my first attempt when I grabbed the liquid food coloring from my cabinet and ended up with three soggy, color-bleeding layers that never quite set. The gel formulas are concentrated enough that a few drops deliver intense color without adding extra liquid, which means your marshmallow mixture stays the right consistency for pressing into tight, distinct layers. Once I switched, the difference was immediately obvious—crisp color separation instead of that muddy rainbow-melted look.
The Timing Sweet Spot
Working quickly between layers is important because marshmallow mixture starts to firm up as soon as it cools slightly, making the next layer harder to press smoothly on top. Have your Rice Krispies measured and ready before you even start melting butter, and work through all three layers without breaks—the whole process should take maybe 15 minutes from start to finish. If a layer does firm up before you press it, just reheat gently over low heat for a minute, stirring constantly, and it'll be workable again.
Storage and Serving Tips
Once fully cooled and set, use the parchment to lift the entire slab from the pan, then cut into 16 squares with a sharp knife dipped in cold water between cuts for clean edges. Store them in an airtight container at room temperature for up to three days, though they never last that long in my house because people keep opening the container for just one more. These are best served at room temperature when the layers are chewy but not sticky, and they're actually wonderful to make a day ahead since the flavors settle and the texture becomes more uniform.
- A pinch of sea salt sprinkled on the white layer adds complexity that keeps the sweetness from becoming cloying.
- If you accidentally get color on your hands, lemon juice or baking soda mixed with water removes gel food coloring stains better than soap alone.
- Bring these to potlucks in the parchment paper still attached so people can see the three perfect layers before diving in.
 Pin
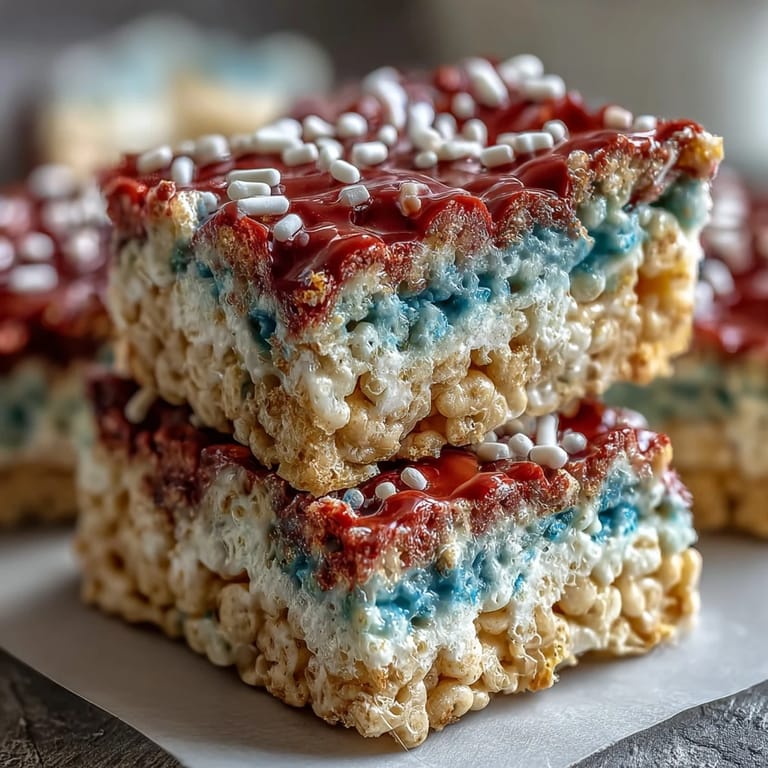
Pin There's genuine joy in layering colors for a celebration that's about freedom and togetherness, and somehow these simple treats carry that feeling every single time. Make them, watch people's faces, and you'll understand why this has become the recipe I'm asked for more than any other.
Recipe Q&A
- → How do I achieve vibrant colors in the layers?
Use gel food coloring instead of liquid for bright, vivid layers without altering the mixture's texture.
- → What is the best way to prevent sticking while pressing layers?
Lightly grease your hands or spatula before pressing each layer to keep the mixture from sticking.
- → Can these treats be stored for later use?
Store in an airtight container for up to three days to maintain freshness and texture.
- → Is there a way to add extra flavor to the layers?
Adding a pinch of salt or using salted butter can enhance the overall taste of the treats.
- → Are these layers suitable for dietary restrictions?
This version contains dairy and gelatin in marshmallows; check labels carefully for allergens and diet compatibility.