 Pin
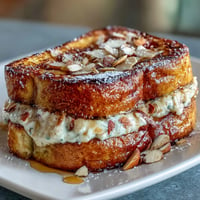
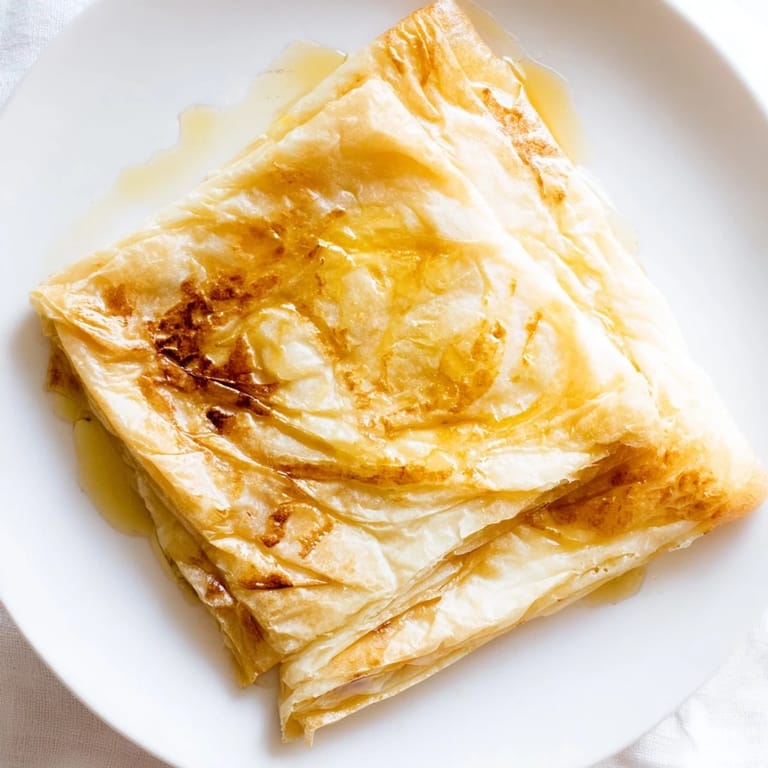
Pin The first time I really understood msemen was when my neighbor Fatima handed me one still warm from her skillet, the honey pooling in the crispy squares like tiny golden lakes. I'd eaten versions before, but this one—with its shattering exterior that gave way to impossibly tender, buttery layers—made me realize I'd been missing the whole point. She laughed at my surprised face and said the secret wasn't in the ingredients, which are simple, but in the patience of the folding and the confidence of the pan. Now whenever I make these, I can almost hear her voice guiding my hands through the stretching and layering.
I made a batch for my roommate's birthday breakfast once, and watching her close her eyes as she bit into one—honey dripping onto her plate—reminded me that the best recipes aren't complicated, they're just honest. There's something about a pastry that's meant to be eaten warm, by hand, with people you like sitting around the kitchen counter.
Ingredients
- All-purpose flour: The foundation of your dough, providing structure and that tender crumb beneath the crisp exterior.
- Fine semolina: This is what gives msemen its signature texture—slightly grainy but not gritty, and it prevents sticking like nothing else can.
- Instant yeast: Optional but worth it; just a teaspoon makes the dough lighter and airier without adding any discernible yeast flavor.
- Warm water: The dough should feel soft and slack, almost like it's about to fall apart, but trust the process—the resting does magic.
- Vegetable oil and melted butter: Oil for the work surface keeps everything moving; butter layered into the folds is what makes them shatter.
- Honey for serving: Warm it gently so it flows into every crevice and doesn't just sit on top like an afterthought.
Tired of Takeout? 🥡
Get 10 meals you can make faster than delivery arrives. Seriously.
One email. No spam. Unsubscribe anytime.
Instructions
- Mix and rest your dough:
- Combine flour, semolina, sugar, salt, and yeast in a bowl, then add water gradually until you have a soft, slightly sticky dough. Knead for about 10 minutes—your arms will feel it—until the dough becomes smooth and elastic, then cover it and let it sit for 15 minutes while you take a breath.
- Portion into balls:
- Divide the dough into 8 equal pieces and roll each one into a ball using oiled hands. The oil prevents sticking and starts building the layers you'll develop later.
- Stretch into thin circles:
- Take one ball and, using your oiled hands or fingertips, gently stretch it into a thin, almost see-through circle. You'll feel the dough getting thinner and thinner; if it tears, pinch it closed and keep going.
- Build the layers:
- Brush your stretched circle generously with melted butter, sprinkle semolina across the whole surface, then fold all four sides toward the center to form a square, buttering and sprinkling as you fold. The layers are what make this special.
- Rest before frying:
- Set your folded squares on a lightly oiled surface and let them sit for 5 minutes; this relaxes the dough so they stay tender instead of tough when cooked.
- Pan-fry until golden:
- Heat a non-stick skillet over medium heat with a light brush of oil, then gently flatten each square to about 1/4-inch thick. Fry for 2 to 3 minutes per side until the outside is deep golden and crackling, adding a little more oil to the pan as needed.
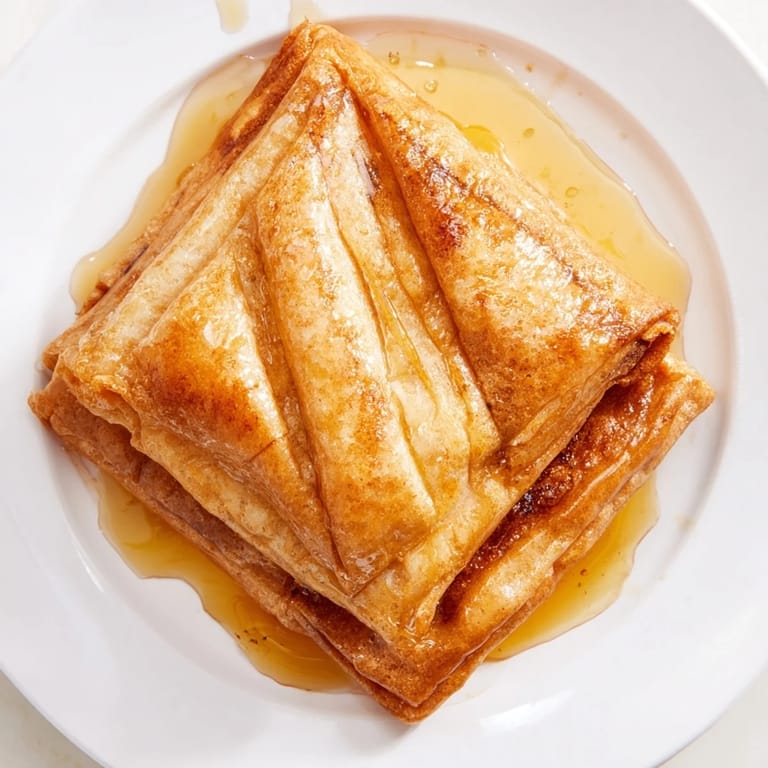
- Finish with honey:
- Transfer to a plate while still hot and drizzle generously with warm honey, letting it soak into the warm pastry so every bite is sweet.
 Pin
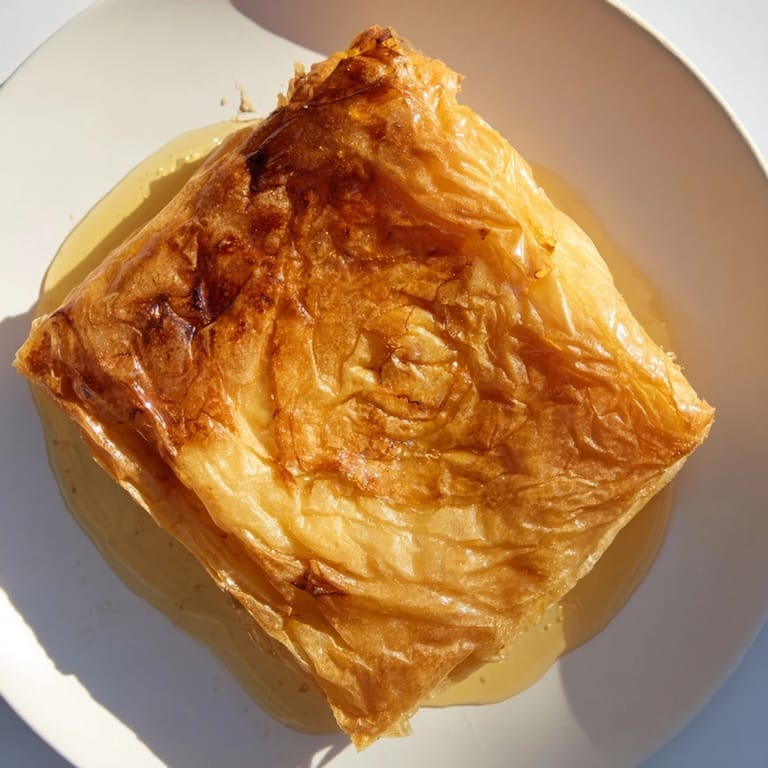
Pin There was an afternoon when my mom sat at my kitchen counter watching me work through a batch, and she told me that her mother made these every Friday without a recipe, just feel and muscle memory. That stuck with me—the idea that some food knowledge lives in your hands, not in a notebook.
The Art of Stretching
The stretching is the part that looks intimidating but becomes almost meditative once you get the feel of it. Your hands, oiled and warm, gently coax the dough outward from the center, rotating it as you go, until it's thin enough to let light through but not so thin it tears. The dough will resist at first, then suddenly give, and you'll realize it's been ready the whole time—you just needed to ask nicely.
Why Semolina Matters
Fine semolina is the unsung hero of this recipe, and I learned this the hard way by trying regular breadcrumbs as a substitute. Semolina has a slightly sandy texture that clings to the buttered dough without dissolving, and it creates a subtle graininess that catches against your teeth in the most satisfying way. It also prevents the layers from sticking together while they cook, so each fold stays distinct and shatters independently.
Variations and Flavor Riffs
Once you master the basic method, msemen become a canvas for your own experiments. I've had versions dusted with cinnamon and cracked pistachios, others brushed with orange blossom water instead of plain butter, and one unforgettable batch studded with dates that caramelized at the edges. The dough structure stays the same; what changes is what you layer inside and what you drizzle on top.
- Try warming your honey with a stick of cinnamon or a splash of orange juice for a flavor boost that feels both traditional and personal.
- If you have amlou (that almond-honey spread from North Africa), serve it alongside for dipping instead of drizzling.
- Leftover msemen reheat beautifully in a dry skillet over low heat, crisping up almost like they're fresh again.
 Pin
Pin Every time I make msemen, I think about the hands that taught me, and the ones I might teach someday. It's comfort food that doesn't need to be complicated, just made with attention and a little warmth.
Recipe Q&A
- → What makes Msemen flaky?
Layering the dough with melted butter and semolina during folding creates distinct tender, flaky layers upon frying.
- → Can I use another type of flour instead of all-purpose?
All-purpose flour provides the right gluten balance, but mixing with fine semolina is key to the texture. Substitutes may alter the final outcome.
- → Why is the dough rested before shaping?
Resting relaxes the gluten, making the dough easier to stretch and fold without tearing, ensuring delicate layers.
- → How is the cooking oil used during frying?
A light brush of oil on the skillet and dough squares ensures even frying and a golden, crisp exterior without greasiness.
- → What are good serving options besides honey?
Traditional accompaniments include amlou (almond-honey spread), fresh jam, or a sprinkle of cinnamon or orange blossom for extra aroma.