 Pin
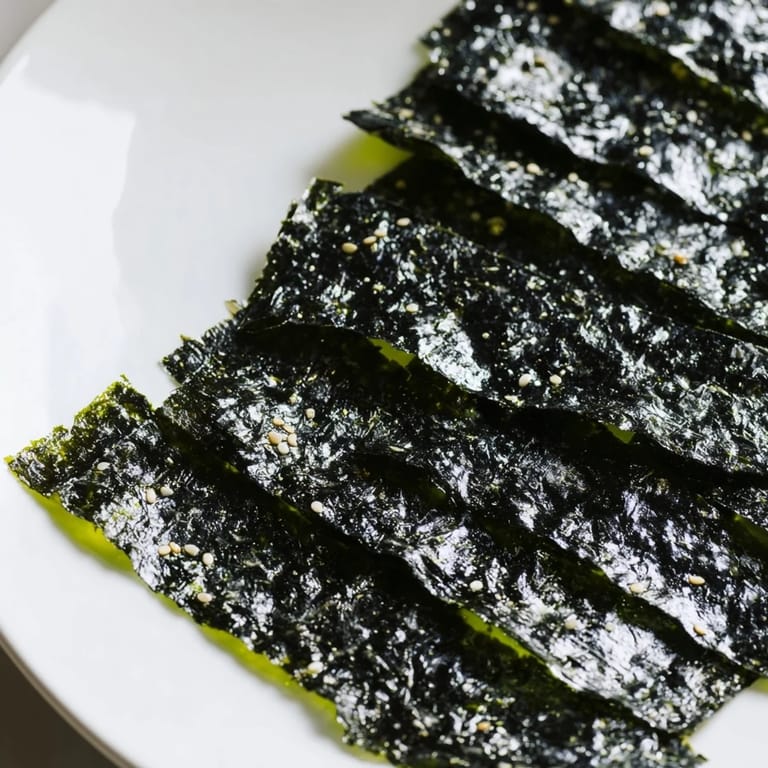
Pin My first attempt at making roasted seaweed chips came after an impromptu stop at a Korean market during a rainy afternoon. The shopkeeper noticed me lingering by the seaweed section and insisted I try making my own chips instead of buying the packaged ones. Standing in my kitchen later that day, I was skeptical that something so simple could rival store-bought snacks, but the aroma that filled my apartment as they roasted proved me wonderfully wrong.
Last summer when my electricity was out during a heatwave, I grabbed these chips and headed to my neighbors rooftop. We sat there passing the container back and forth while watching the sunset, neither of us saying much but both refusing to take the last piece. Now whenever the temperature climbs, someone inevitably texts about making another batch.
Ingredients
- Nori sheets: Look for sushi-grade sheets that feel slightly flexible rather than brittle, as Ive found the fresher ones crisp up more evenly and have a cleaner ocean flavor.
- Toasted sesame oil: Just a whisper transforms these from basic to complex, though I once accidentally used way too much and created what my nephew now calls seaweed candy.
- Sea salt: The fine variety distributes more evenly than flaky salt, creating a consistent flavor rather than random bursts of saltiness.
Tired of Takeout? 🥡
Get 10 meals you can make faster than delivery arrives. Seriously.
One email. No spam. Unsubscribe anytime.
Instructions
- Prepare your sheets:
- Preheat your oven to 300°F and line a baking sheet with parchment paper. Place your first nori sheet shiny side down, which helps the oil distribute more evenly.
- Layer with love:
- Brush each sheet with just enough oil to glisten, not soak. When I add the salt, I hold my fingers high above the sheet for more even distribution.
- Create sandwiches:
- Stack another nori sheet on top of your oiled one, creating pairs that will become sturdier chips. These doubled sheets stand up better to dips without crumbling at the first touch.
- Cut with purpose:
- Transform the sheets into squares or strips about 2 inches wide. Kitchen scissors give me cleaner edges than a knife, but either works fine.
- Arrange thoughtfully:
- Place your cut pieces in a single layer, making sure they dont touch or overlap. Crowding leads to steaming rather than roasting, and nobody wants soggy seaweed.
- Watch like a hawk:
- Roast for 6-8 minutes, but hover nearby because the difference between perfectly crisp and burnt is about 30 seconds. Youre looking for chips that are dark green and make a subtle crackling sound when moved.
- Exercise patience:
- Let them cool completely before diving in. The texture continues developing as they cool, becoming even crispier.
 Pin
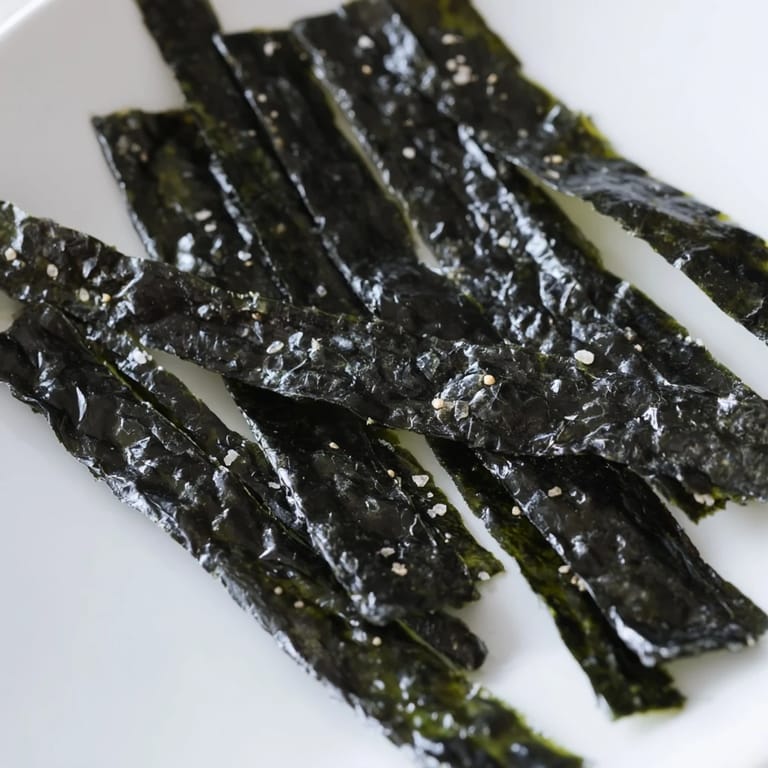
Pin On a particularly challenging deadline day, I made a batch of these chips and placed them in a bowl beside my laptop. Something about the rhythmic crunch and the subtle saltiness kept me focused through hours of work. My fingers were slightly green-tinted by evening, but the project was finished ahead of schedule, and now these chips have become my unofficial productivity companion.
Flavor Variations
I went through a phase of experimenting with different seasonings, creating a wasabi version that cleared my sinuses beautifully and a smoked paprika batch that disappeared during a game night before I could even announce what they were. The seaweed provides such a neutral canvas that almost any spice you enjoy will likely work wonderfully.
Serving Suggestions
While perfect on their own, these chips elevate a simple bowl of rice to something special when crumbled on top. My vegetarian friend crushes them over avocado toast, insisting the umami flavor makes it taste like a more sophisticated version of avocado tuna toast without any fish involved.
Storage Secrets
The enemy of crispy seaweed is humidity, something I learned after leaving an uncovered batch out during a summer shower and returning to find limp, chewy squares instead of the brittle chips from earlier. Now I store them in a glass jar with a silica packet from old vitamin bottles, which keeps them crisp for days.
- If your chips lose their crunch, a quick 2-minute reheat in a 300°F oven will usually restore their texture.
- Making a double batch is smart since they disappear quickly, but store each serving separately to avoid repeated opening of your container.
- These chips are at their absolute best within 24 hours of making them, so prioritize enjoyment over long-term storage.
 Pin
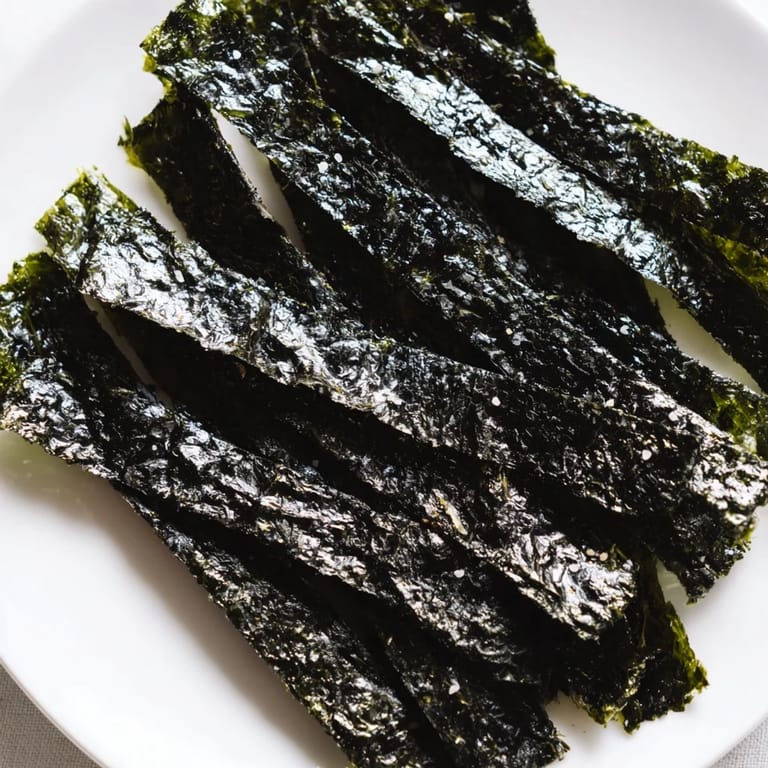
Pin Somehow these simple chips have become my signature offering when friends drop by unexpectedly. Their surprise that something so light can deliver such satisfaction makes me smile every time.
Recipe Q&A
- → Can I use regular vegetable oil instead of sesame oil?
Yes, you can substitute sesame oil with any neutral oil like olive, avocado, or grapeseed oil. Sesame oil adds a distinctive nutty flavor, but other oils work perfectly well for crispy results.
- → How do I keep the chips crispy after roasting?
Store the cooled chips in an airtight container at room temperature. Any moisture exposure will make them soggy, so ensure they're completely cool before sealing and consume within 2-3 days for best texture.
- → What temperature should I roast the seaweed at?
Roast at 300°F (150°C) for 6-8 minutes. This low temperature ensures the nori crisps up without burning. Watch closely during the final minutes as they can go from perfect to burnt quickly.
- → Can I add other seasonings to the chips?
Absolutely! Try sprinkling chili flakes, garlic powder, onion powder, or furikake seasoning before roasting. You can also add a light dusting of nutritional yeast for a cheesy flavor.
- → Is it necessary to layer the nori sheets?
Layering creates a sturdier, crunchier chip with better texture. Single sheets tend to be more delicate and can crumble easily. The double layer provides satisfying crunch and easier handling.
- → What type of nori should I use?
Use sushi-grade dried nori sheets for best results. These are readily available at Asian markets and most supermarkets. Avoid pre-seasoned or roasted varieties as they may burn more easily.