 Pin
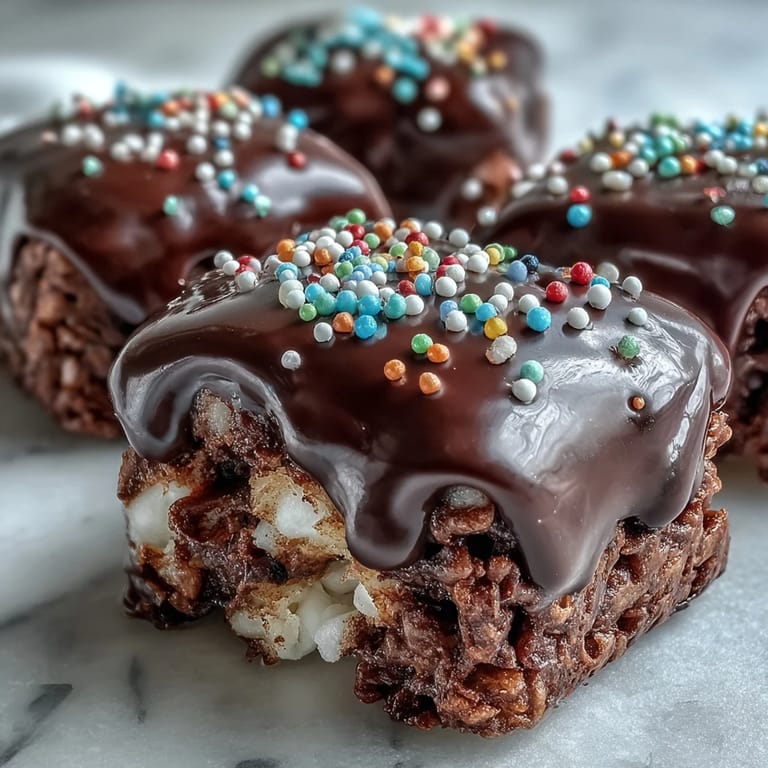
Pin My kitchen counter was covered in chocolate fingerprints and my niece was giggling so hard she could barely hold the spatula. We'd just pulled off what felt like culinary magic: transforming a pan of humble Rice Krispies treats into something that looked bakery-worthy. The chocolate pooled around the edges, glossy and dark, while she shook sprinkles over the top with the kind of wild abandon only a six-year-old can muster. That afternoon taught me that sometimes the simplest recipes become the most memorable, especially when you add a little extra love and a lot of chocolate.
I started making these for my book club after someone mentioned craving something sweet but not too heavy. The first batch vanished before we even opened our novels. Now, every third Thursday, someone asks if I'm bringing those chocolate treats, and I've learned to double the recipe because one pan is never enough when there are eight women with opinions about character development and a weakness for anything involving melted chocolate.
Ingredients
- Unsalted butter: I always use unsalted so I can control the salt level, and the extra tablespoon for greasing the pan saves you from wrestling with sticky squares later.
- Mini marshmallows: The minis melt faster and more evenly than the large ones, giving you that perfect gooey binder without any lumps.
- Rice Krispies cereal: The star of the show, providing that signature snap and crackle that makes every bite satisfying.
- Fine sea salt: Just a pinch balances the sweetness and makes the chocolate topping taste even richer.
- Semisweet or dark chocolate chips: I prefer dark for a less sugary finish, but semisweet works beautifully if you like things on the sweeter side.
- Vegetable oil or coconut oil: This tiny addition keeps the chocolate smooth and glossy instead of grainy or dull.
- Rainbow sprinkles or chopped nuts: Completely optional but they add a pop of color and texture that makes these feel like a celebration.
Tired of Takeout? 🥡
Get 10 meals you can make faster than delivery arrives. Seriously.
One email. No spam. Unsubscribe anytime.
Instructions
- Prep your pan:
- Grease that 8x8 or 9x9 pan generously, getting into every corner. I learned the hard way that skipping this step means chiseling out your treats like an archaeologist.
- Melt the butter:
- Keep the heat low and stir constantly so the butter doesn't brown or separate. You want it just melted, smooth and golden.
- Add the marshmallows:
- Toss them in and keep stirring until they transform into a glossy, stretchy cloud. This takes about three to five minutes, and patience here pays off in texture.
- Season the mixture:
- Pull the pan off the heat and stir in that pinch of salt if you're using it. The residual heat will dissolve it perfectly.
- Fold in the cereal:
- Work gently but thoroughly, making sure every piece gets coated without crushing the delicate puffs. A folding motion works better than stirring.
- Press into the pan:
- Transfer everything while it's still warm and press down firmly with buttered hands or a buttered spatula. Even pressure means even bars later.
- Let it rest:
- Give it ten minutes at room temperature so the marshmallow sets up just enough to support the chocolate layer.
- Melt the chocolate:
- Combine chips and oil in a microwave-safe bowl, then heat in thirty-second bursts, stirring each time. Slow and steady prevents scorching.
- Pour and spread:
- Drizzle the melted chocolate over your cereal base and use an offset spatula to coax it into every corner. The warmth of your hand on the spatula helps it glide.
- Add the sprinkles:
- If you're using them, scatter them on immediately while the chocolate is still wet. They'll stick perfectly and add that festive touch.
- Set completely:
- Let the whole thing sit for at least an hour at room temperature, or pop it in the fridge for twenty to thirty minutes if you're impatient like me.
- Cut into bars:
- Use a sharp knife, wiping it clean between cuts for the neatest edges. Lift the whole block out first if you lined your pan with parchment.
 Pin
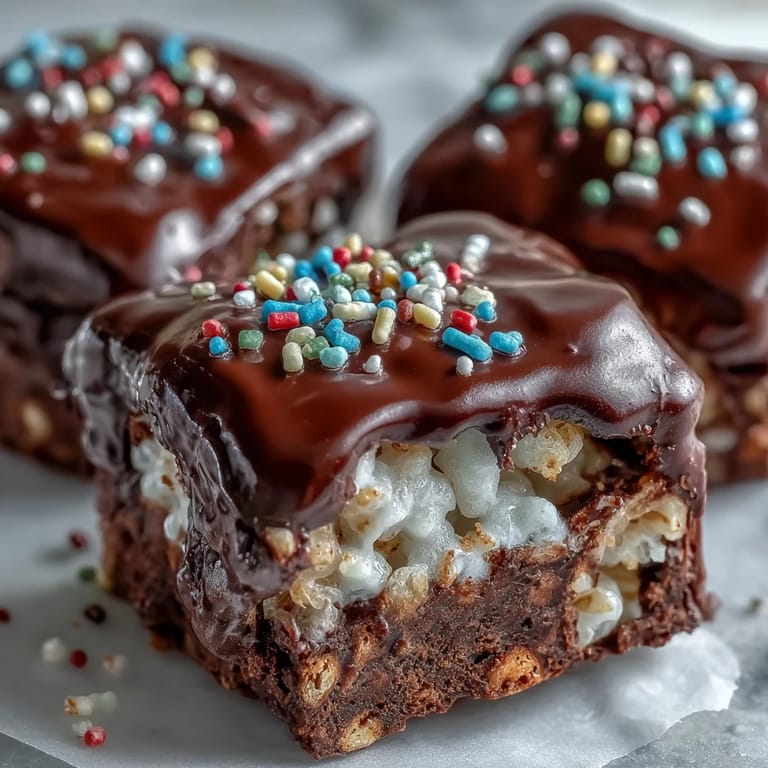
Pin The first time I brought these to a neighborhood potluck, a dad with three kids under five asked for the recipe before he'd even finished his first square. His wife laughed and said it was the first dessert he'd requested in years that didn't come from a bakery box. I watched him wrap up four extra bars in a napkin for later, and I realized these weren't just treats—they were little moments of joy people wanted to hold onto.
How to Store and Keep Them Fresh
I stack mine in an airtight container with parchment paper between the layers so the chocolate doesn't stick. At room temperature, they stay perfect for three days, though in my house they rarely last that long. If you refrigerate them, they'll keep for a week, but let them sit out for ten minutes before serving so the chocolate softens slightly and the texture comes back to life.
Variations That Work Beautifully
I've made these with white chocolate and pastel sprinkles for Easter, drizzled them with peanut butter before the chocolate for my husband's birthday, and even stirred a half teaspoon of vanilla into the melted marshmallows for a subtle depth. One friend swears by adding a tablespoon of espresso powder to the chocolate for a grown-up twist. The base recipe is so forgiving that you can play with flavors and toppings without worrying about ruining anything.
Troubleshooting Common Issues
If your treats turn out too hard, you probably overcooked the marshmallow mixture or pressed too firmly. If they're falling apart, the marshmallow didn't melt completely or you didn't pack them tightly enough. Chocolate that looks streaky or dull usually means it got too hot or you skipped the oil.
- Warm your spatula under hot water before pressing the mixture for easier handling.
- Line your pan with parchment for foolproof removal and cleaner cuts.
- If the chocolate seizes, stir in another half teaspoon of oil to bring it back.
 Pin
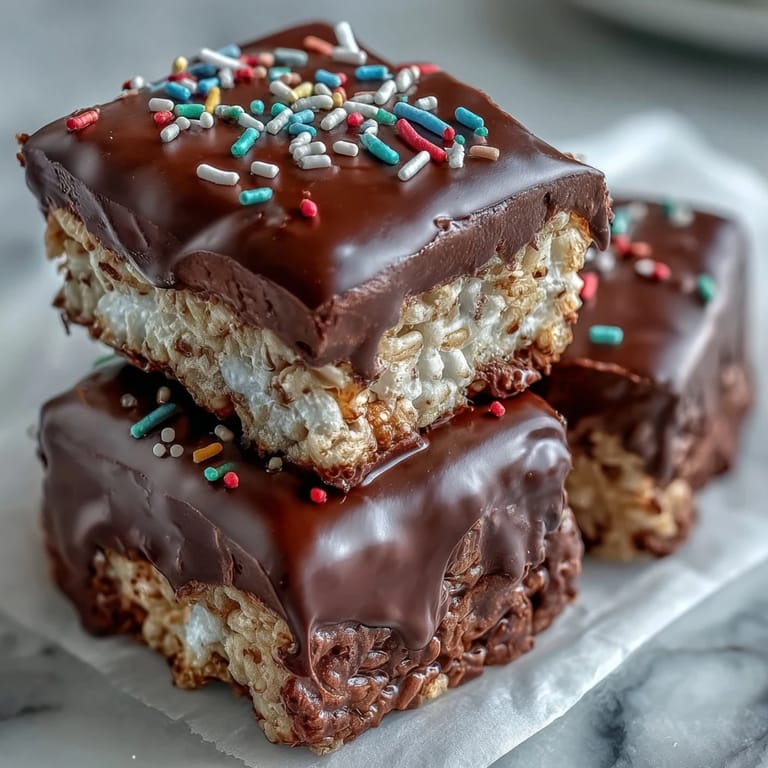
Pin These treats have become my go-to whenever I need to bring something that feels special without spending hours in the kitchen. There's something deeply satisfying about watching people take that first bite and light up, knowing you turned pantry staples into something they'll remember.
Recipe Q&A
- → Can I use regular marshmallows instead of mini marshmallows?
Yes, you can use regular marshmallows. You'll need about 4 cups of regular marshmallows to equal one 10-ounce package of mini marshmallows. They may take slightly longer to melt completely.
- → How do I prevent the mixture from sticking to my hands?
Lightly butter your hands or the spatula before pressing the mixture into the pan. You can also use a piece of parchment paper or wax paper to press down on the mixture without it sticking.
- → Can I use milk chocolate instead of semisweet or dark chocolate?
Absolutely! Milk chocolate works wonderfully and creates a sweeter, creamier topping. You can also mix different types of chocolate for a custom flavor profile.
- → Why won't my chocolate set properly?
Make sure you're using real chocolate chips, not coating wafers. The vegetable oil helps create a smooth finish, but too much can prevent setting. If your kitchen is warm, refrigerate the treats for 20-30 minutes to help the chocolate firm up faster.
- → How should I store these treats?
Store in an airtight container at room temperature for up to 3 days, or refrigerate for up to a week. Layer parchment paper between stacked bars to prevent them from sticking together.
- → Can I make these ahead of time?
Yes! These treats are perfect for making ahead. Prepare them up to 3 days in advance and store in an airtight container. They actually taste even better the next day once all the flavors have melded together.